16,000 woodworking plans inside...(2 days left)
I just discovered this and suggest you see this immediately...
BHC 14 INEXPENSIVE TREE STAND PDF Plans build your own tree stand Woodworking Download.

Click Here To Download
When we bought our house, the basement had a small family room, a bedroom and a bathroom. Rarely would we spend time down there because there just wasn't enough room for us to watch tv and have room for Emma and Owen to play at the same time. A large bedroom took up about half of the useable space, which we thought would be nice to have. But after living here for a year, we realized that we had only ever stepped foot in that bedroom about 3 times. Mostly we were just using it to pile up stuff we didn't have a use for anymore. Knowing the bedroom needed to come out, we began planning for a brand new basement.
I will walk you through the changes as we move through the photos - a lot of them! It took us about a year to remodel the basement for a few reasons. First and most importantly, we wanted to pay for everything as we went, so sometimes we would have to break for a little while so we could save up more dollah's! Second, there are a lot of small details that go into doing a project of this size correctly. We wanted to do it right the first time so we wouldn't have to come back and fix something. Third, Owen was only about a year old and Emma was only about 3. Either Brent or I had to be on child duty, which only left one person to work.
The old stairs were carpeted, which we actually really liked - but since our garage is at the top of the stairs and we seem to make lots and lots of trips from the garage to the basement, the stairs get dirty...fast. Carpet would never hold up for us. These were pine treads (which are surprisingly cheap) stained the same color as the rest of our woodwork. Pine is sort of soft so it is more prone to scratches and knicks. There is a little wear visible on them but since our house is so old, brand new wasn't exactly what we were going for. Rustic would be more appropriate.

This is the landing at the base of the stairs. The door on the left is a walk in pantry closet for my bake ware that isn't used on a regular basis - like my stand mixer, serving ware and cake decorations. The door straight ahead goes to our laundry room, storage area and furnace/water heater stuff.

This is what the pantry closet looks like.

Here's the view when you walk into the family room from the stairs. The walls are reading a little green in this photo - blame it on my cheap camera. The above photo of the stair landing is a more accurate depiction of the color.

We bought the desk and board game shelf from World Market when we lived in Omaha.

This small area where the game table sits is the old family room. Told you it was small! Now we use this space to play board games, eat our ice cream and work on art projects. Emma sits here probably 3 nights a week to color.


The blue board hanging on the wall is a magnetic board. We painted a piece of plywood with a few coats of magnetic paint and then a coat of the color of our choice.

On the opposite wall is a dry erase board - every kid loves a dry erase board, right!? Both of these boards were Christmas gifts we made for the kids last year.


Brent is a HUGE Iowa Hawkeye football fan but I was leery of incorporating a bunch of that stuff down here because it's always so bright and gaudy. On a shopping trip to the mall one day, I happened to be browsing the calendar kiosk. A vintage Iowa Hawkeye program calendar practically jumped into my hands - the colors were toned down and it was more about the history vs the logos. After tearing out the posters, I clamped them into wooded hangers from Target. Frames would have been WAAAAYYY too expensive, this seemed like an easier and cheaper alternative.

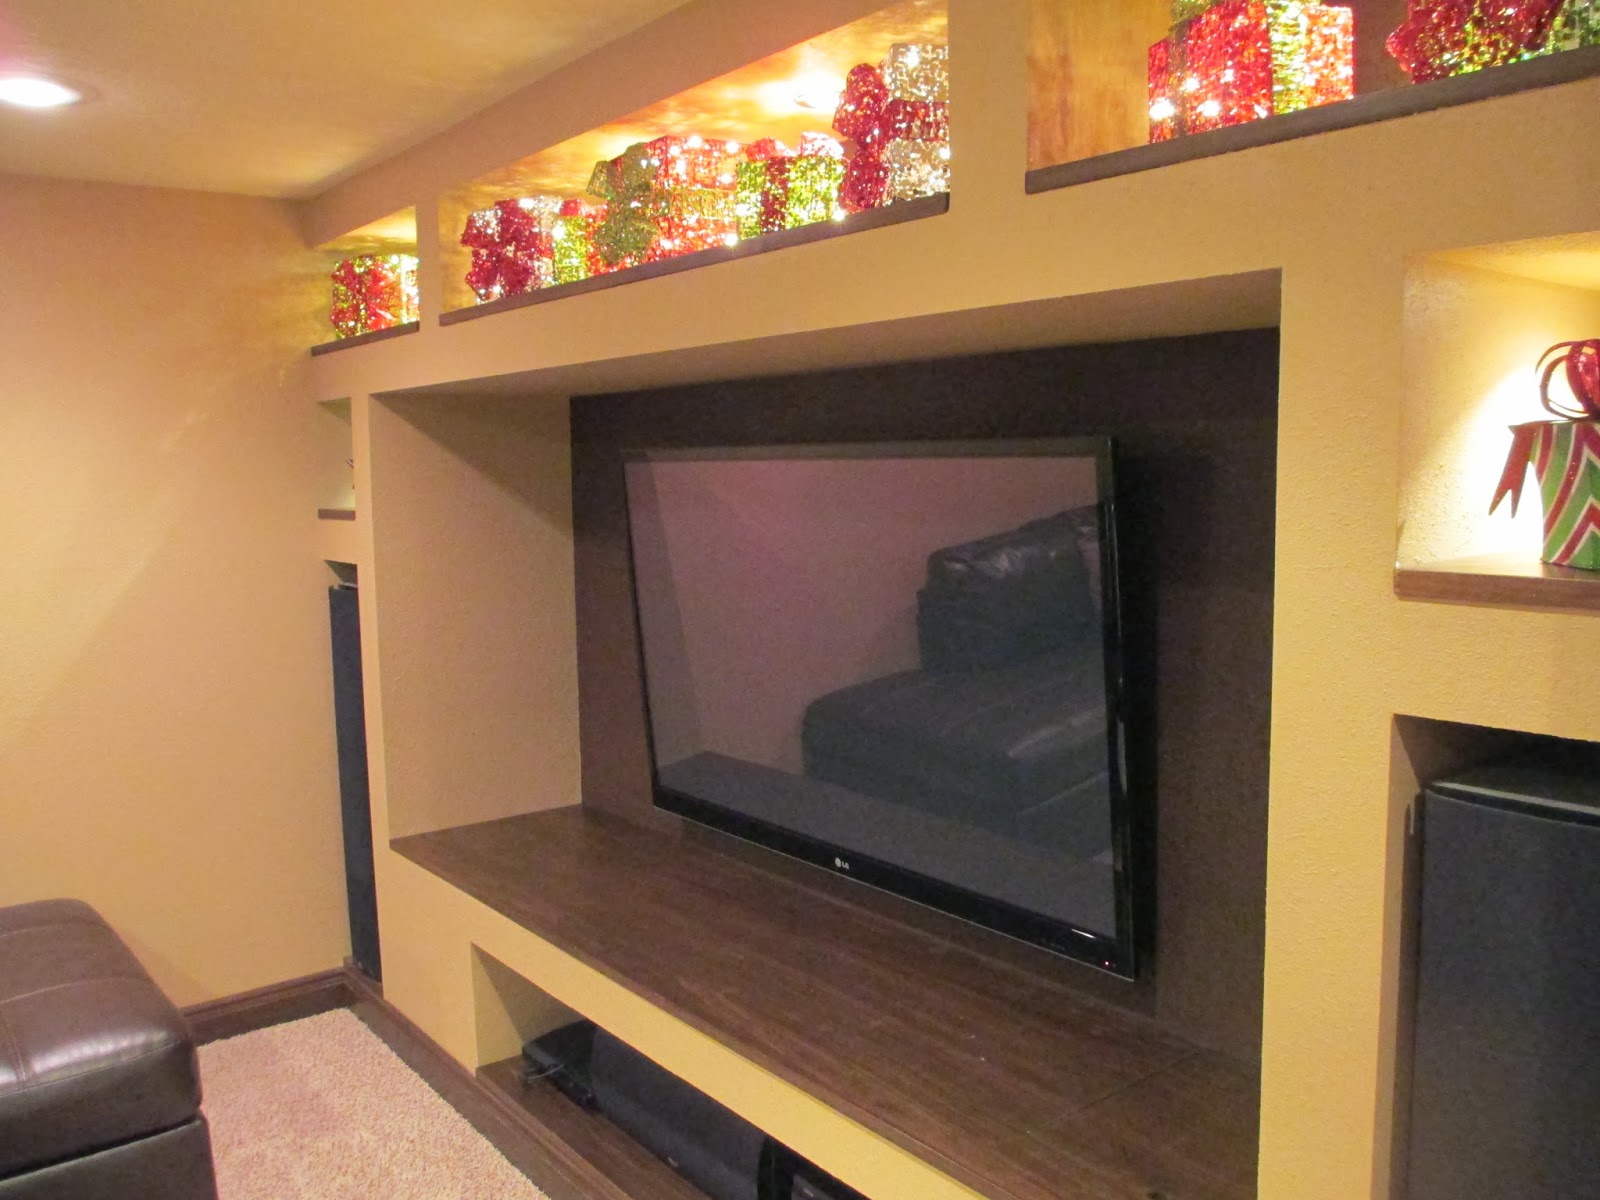
If you can put your imagination cap on for a second, this whole back area used to be a bedroom. The recessed area where the tv is hanging used to be a closet.


We used some dark chocolate colored paint left over from Owen's bedroom to paint the recessed areas of the entertainment center. When the tv is off, it makes the tv blend in with the wall so it isn't screaming at you "LOOK HOW BIG I AM!" Yeah, I know, it's a big tv...60". I wasn't even confident it was going to work in this small area. When we were deep in the throws of construction, Brent and I would sit in folding chairs where the couch currently is, with a piece of cardboard taped on the opposite wall, attempting to visualize what size tv to purchase. I'm glad Brent convinced me to go with the 60", when we actually get a few minutes to watch tv, it feels like our own little private theatre, but more cozy.

We passed on the matching ottoman that was available with the sofa and went with a contrasting storage ottoman we found at World Market for $60. It works a little better in our compact space.


Brent added this built in bookshelf to give us some additional book storage. The crates on the bottom shelf came from Target and happened to match all of our other wood work perfectly. We tried to do as many things as we could to make this a great play space for the kids. Easy access to their toys and books and a big open area to spread out in.

Our movies are stored in this drawer - for us, the less visual clutter the better.

There was always a bathroom down here, we just updated it. The pocket door was added so we wouldn't have to worry about a swinging door in such a small space.

The same tile and paint that we used out in the family room was carried into the bathroom. We believe consistency in finishes is important in small houses.
Brent built this vanity. By himself. I still really can't believe he knows how to do that. He also made the solid surface countertop with the flush mount sink. The mirror is from the Habitat Re-Store and he built a frame to go around it.


You can see a few more of the calendar posters in the black frames in the mirror.

Yep, you're seeing that correctly. A walk in shower. This is actually a fantastic asset for our kids. I have them take a shower every morning instead of a typical nightly bath because Emma's hair must be washed in the morning as it is super curly. They march in there, get wet and then come and stand by the entrance of the shower so I can shampoo/condition them. They get wet, I don't. It's a perfect scenario!
The shower floor is the one thing we've had trouble with. Apparently when we tiled the shower floor, we should have left an expansion joint between the tiles laid against the walls to allow for expansion and contraction. Since we didn't, when the wall studs naturally expanded, it pushed the tile inward and it caused them to heave. Some of the flooring will need to be removed and re tiled to correct it. That's a project for another day though.

For the border in the shower, we cut apart tiny strips of the same tile we had used on the floor to create that tiny ribbon around the top and bottom of the border. When figuring out what kind of shower head to use, we decided we wanted a removable shower head. It would make it much easier to spray off the walls when cleaning them and for hosing off the children. When we had a dog, it also made it easy to give her a bath.


I found this clock at Gordmans but instead of hanging it with the little bracket on the back, we mounted an antique hook to the wall and hung the clock from it.

Oh yeah, and this is a little built in Brent built to hang our family picture in.

So it was worth the year long wait, we got exactly what we wanted. I think we all just kind of take in a deep cleansing breath when we have a few precious minutes to spend down here together, as a family. The kids' favorite thing to do is to snuggle up with us to watch a family movie, have a little popcorn and some candy. Even though its been two years since completion, we still can't believe this is our basement. A lot of long nights were spent down here, burning the midnight oil to get it done.
To see earlier parts of the house tour that you might have missed, here are some quick links:

No comments:
Post a Comment