16,000 woodworking plans inside...(2 days left)
I just discovered this and suggest you see this immediately...
BHC 14 INEXPENSIVE TREE STAND PDF Plans build your own tree stand Woodworking Download.

Click Here To Download

We started with a block of our reclaimed wood cut at 24 inches long. You could use a 4x4 and get the same effect.
 I didn't want this to simply look like a plain block, so I asked Brent to cut the sides off at an angle, sort of like a boat.
 He set the table saw at 10 degrees.
 Insert your own table saw sound effects here.

 But it was still looking a little blah, so I had him trim the ends with a miter saw at the same 10 degree angle to give it a little more interest.

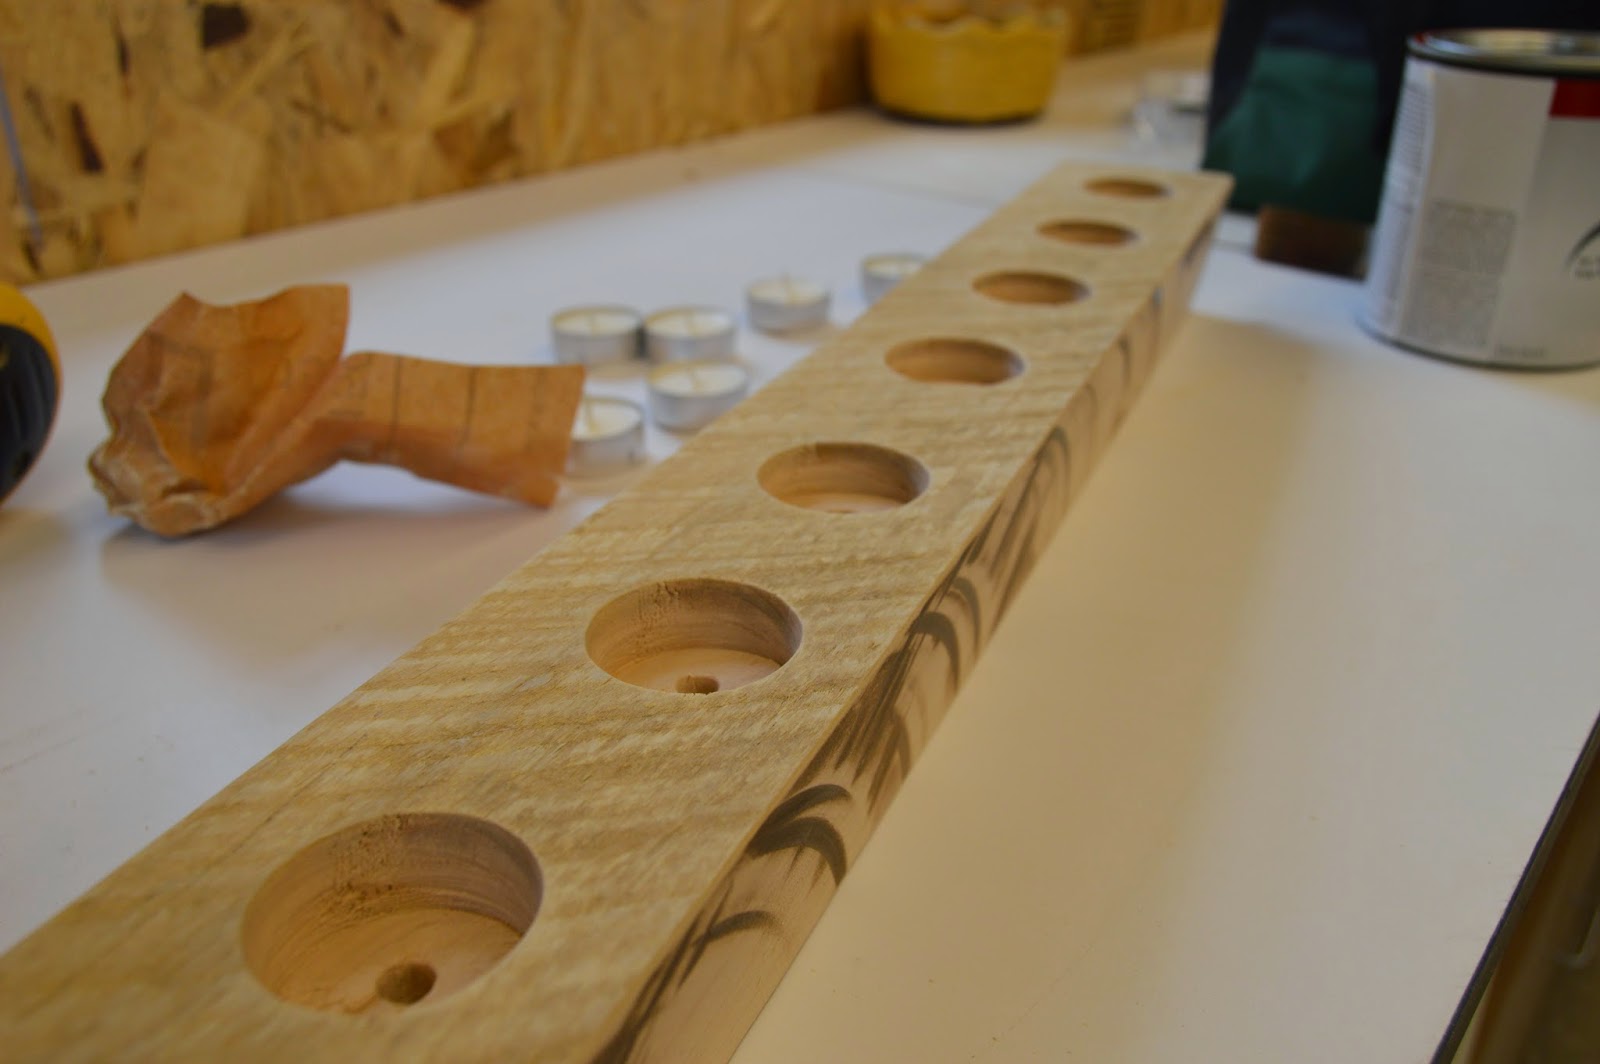
 Next we laid our tea lights on top to decide where we wanted them to end up. No exact science here, we just eyeballed the spacing and went to town with the drill. That's the beauty of "rustic" - doesn't have to be perfect!
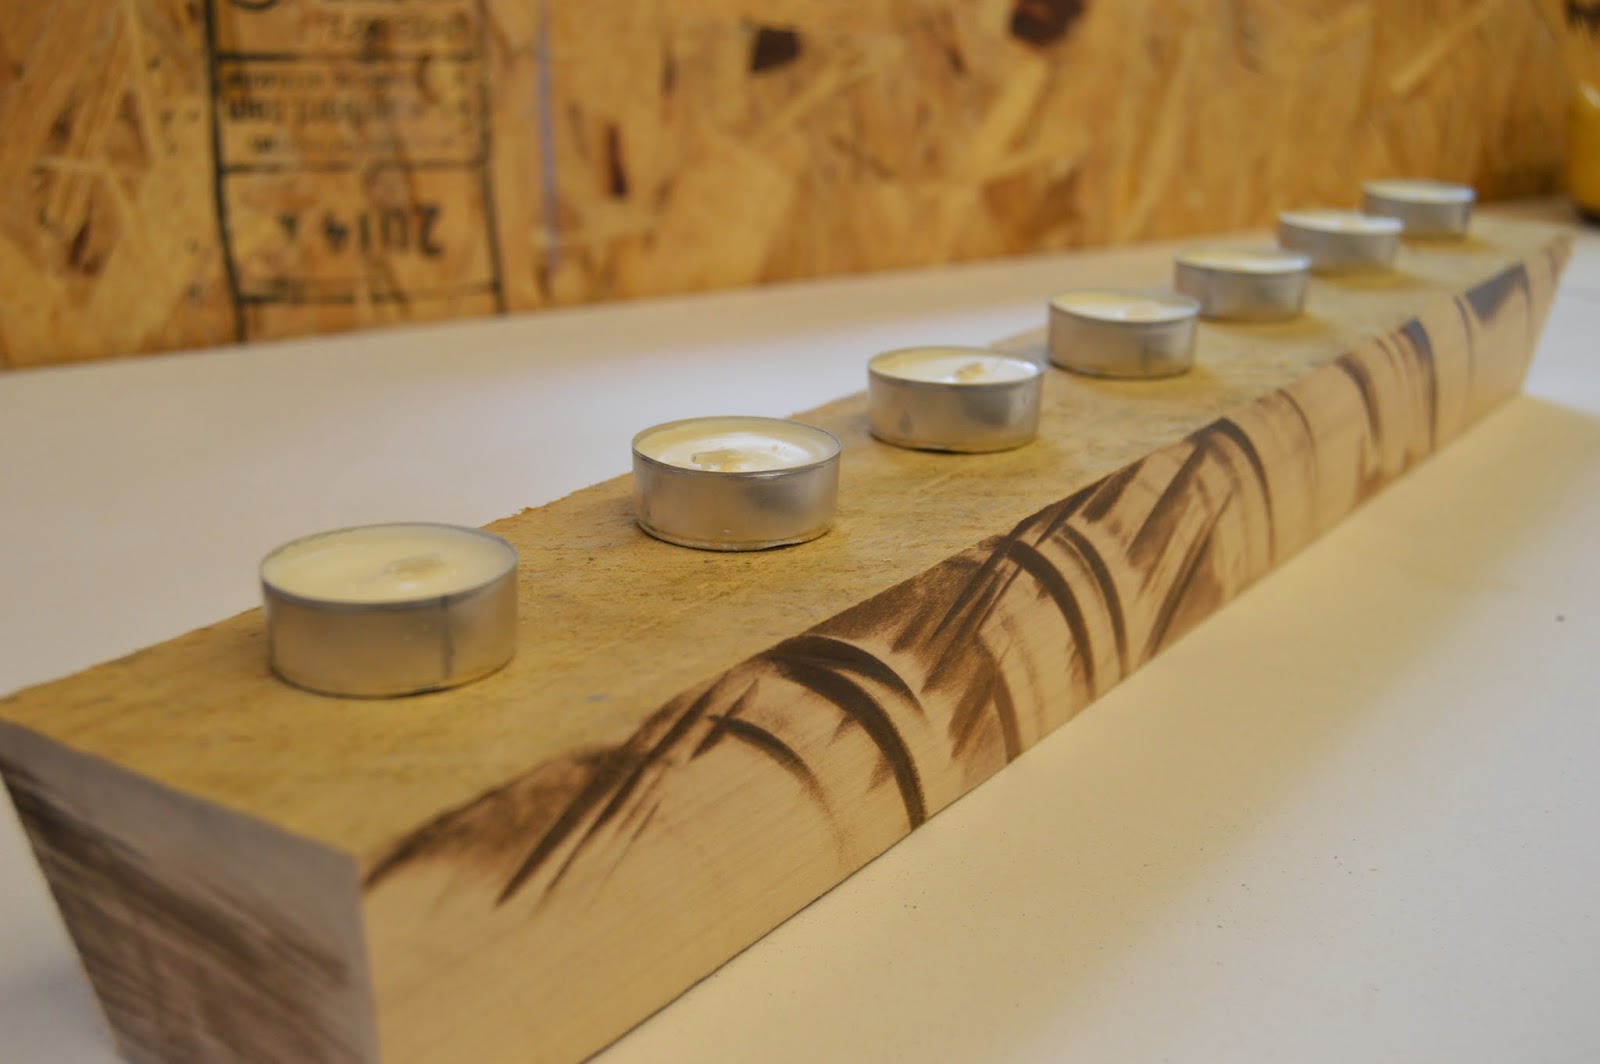 Using a spade bit, Brent drilled out holes for the tea lights.
 I sanded the entire piece with the orbital sander. To sand inside of the holes, I wrapped a piece of sandpaper around a wooden dowel.
 I checked out a bunch of different red paint samples at the hardware store but all of them were either too orange or too purple. Turns out they sell this Gloss Cherry in a pre-mixed quart, so I dove in - head first.
 Usually I would only use one coat, since I end up giving it a healthy sanding afterwords, but this time I had to do two coats. Mostly because our wood block got a little "jammed" in the table saw so we were left with some dark burn marks from the saw. After the second coat of red paint was dry, I sanded the entire piece and applied a coat of VanDyke Brown Glaze.


