Showing posts with label craft. Show all posts

Monday, September 8, 2014

Reclaimed Wood Pumpkins

16,000 woodworking plans inside...(2 days left) 

I just discovered this and suggest you see this immediately... 

BHC 14 INEXPENSIVE TREE STAND PDF Plans build your own tree stand Woodworking Download.
Click Here To Download


Over the past few months, it has been raining reclaimed wood into our splintered hands!  Brent has actually forbidden me from accepting any more free lumber because we're running out of places to store it.  Currently, we have three different types of hardwood flooring - one will be used as flooring in our kitchen, the other two types of flooring will become woodworking projects.  There isn't enough of either of these types of flooring to actually lay down in a room - but I just couldn't watch it go into a dumpster - so instead we drug it home.  Here's a small sampling of one type of the flooring.
So now I have the arduous problem of figuring out what to make out of this wood.  The last thing I want to do is comb through Pinterest (that's heavy sarcasm, folks) searching and waiting for an idea to strike me.  And then it happened.  This picture on Pinterest (how many times has that sentence been used??!!), filled my computer screen and I HAD TO MAKE IT.  Like.  Now.

Just wait until you see what this little pile of hardwood flooring becomes!
To create these pumpkins, I mostly followed the instructions from the Pinterest link.  I started by sketching out the three sizes of pumpkins on a piece particle board and cut them out with a jig saw.
Then I chose the hottest, most humid day of summer to sit on the patio and pull nails out of my flooring boards.  I may have also pulled some swear words out of my pocket, because those babies did NOT want to come out very easily.
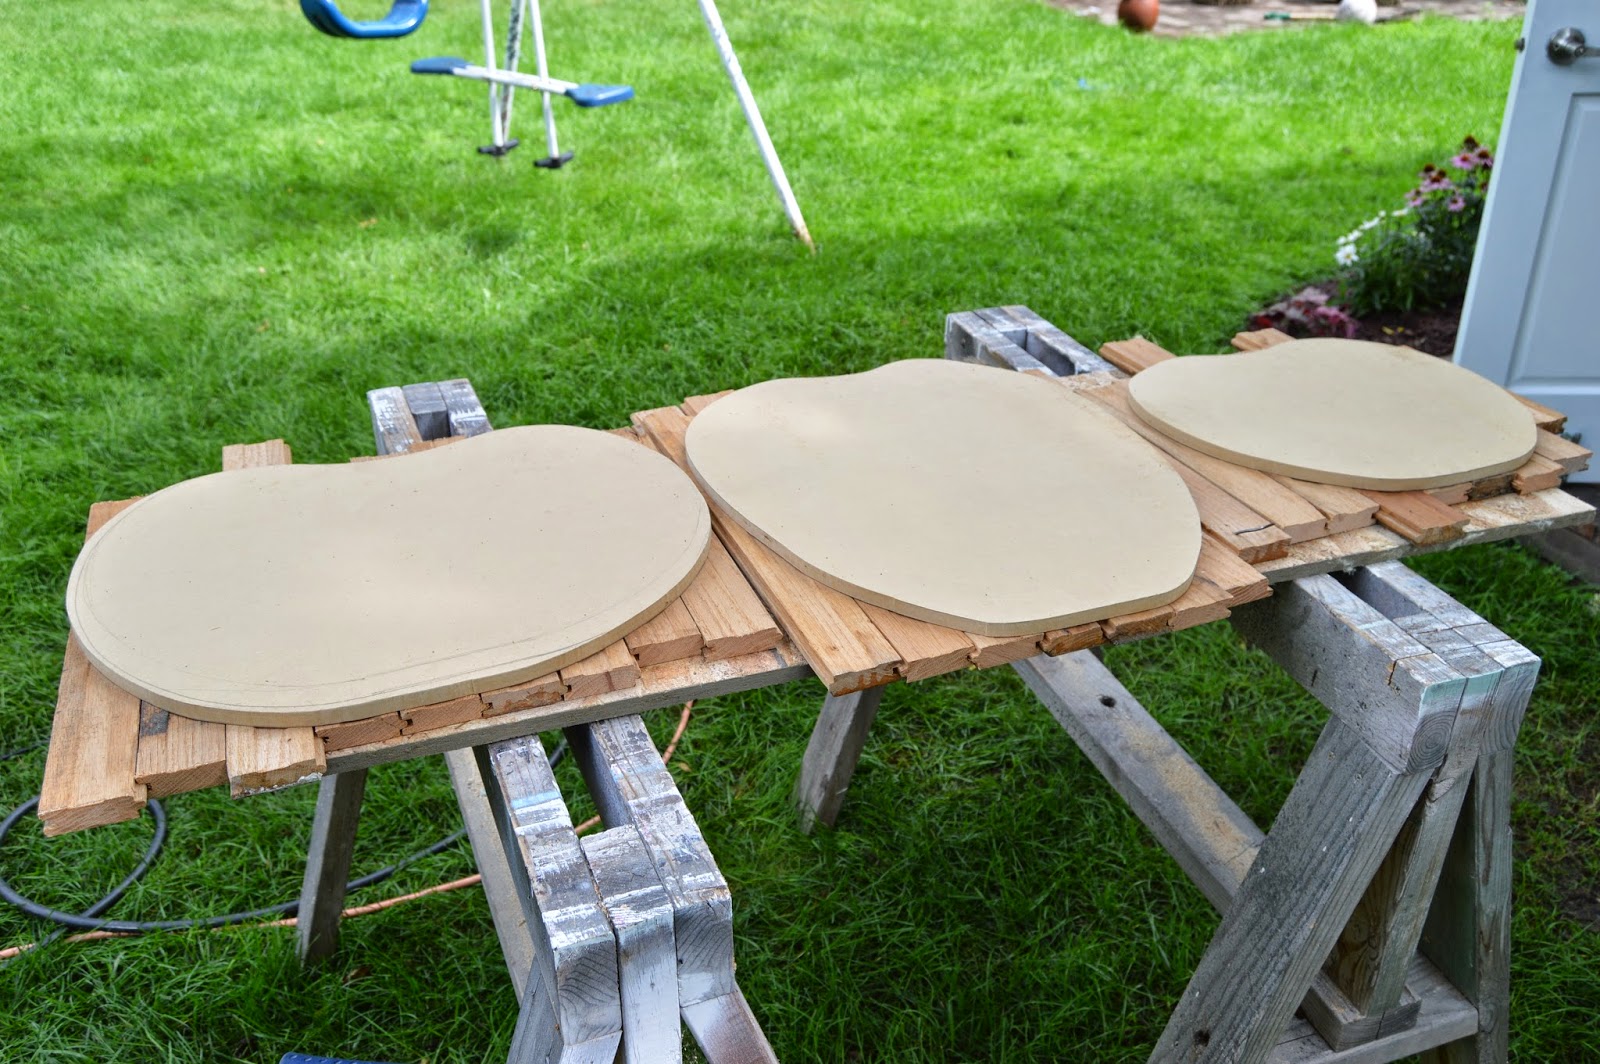
After I'd accumulated a decent pile of nail-free wood, I laid down one of my pumpkin templates and roughly cut pieces of flooring to the right length.  This is what my top view looked like.
Here's what you seen when you flip it over.  Once all of the pieces were aligned and joined together, and working with it upside down as shown below, Brent used his nailer to put one inch nails through the particle board.  At this point, the boards are attached to the pumpkin template.
 Using a jig saw, we followed the particle board template and cut away the excess wood.
 After lots of sanding with my orbital sander and 80 grit sand paper, it was time to start finishing them.
 One of them got a coat of walnut stain...
 The large one got a coat of Seagull Gray milk paint followed by a coat of Wythe Blue in a semi-gloss finish.
The smallest pumpkin started with a coat of Seagull Gray milk paint and then both the small and largest pumpkin were given a coat of VanDyke Brown glaze.
All three pumpkins were finished with Exterior Spar Urethane varnish on both the front and back, although with that particle board backer, I wouldn't recommend leaving these pumpkins out in the elements.  Particle board will swell and expand when exposed to water, so if you want something that will work well outdoors, you'll have to find a material that is more resilient to moisture.  These should do ok on a covered porch, if you're lucky enough to have one!
To make sure the pumpkin stayed upright, we cut this piece of angled wood and screwed it to the back.

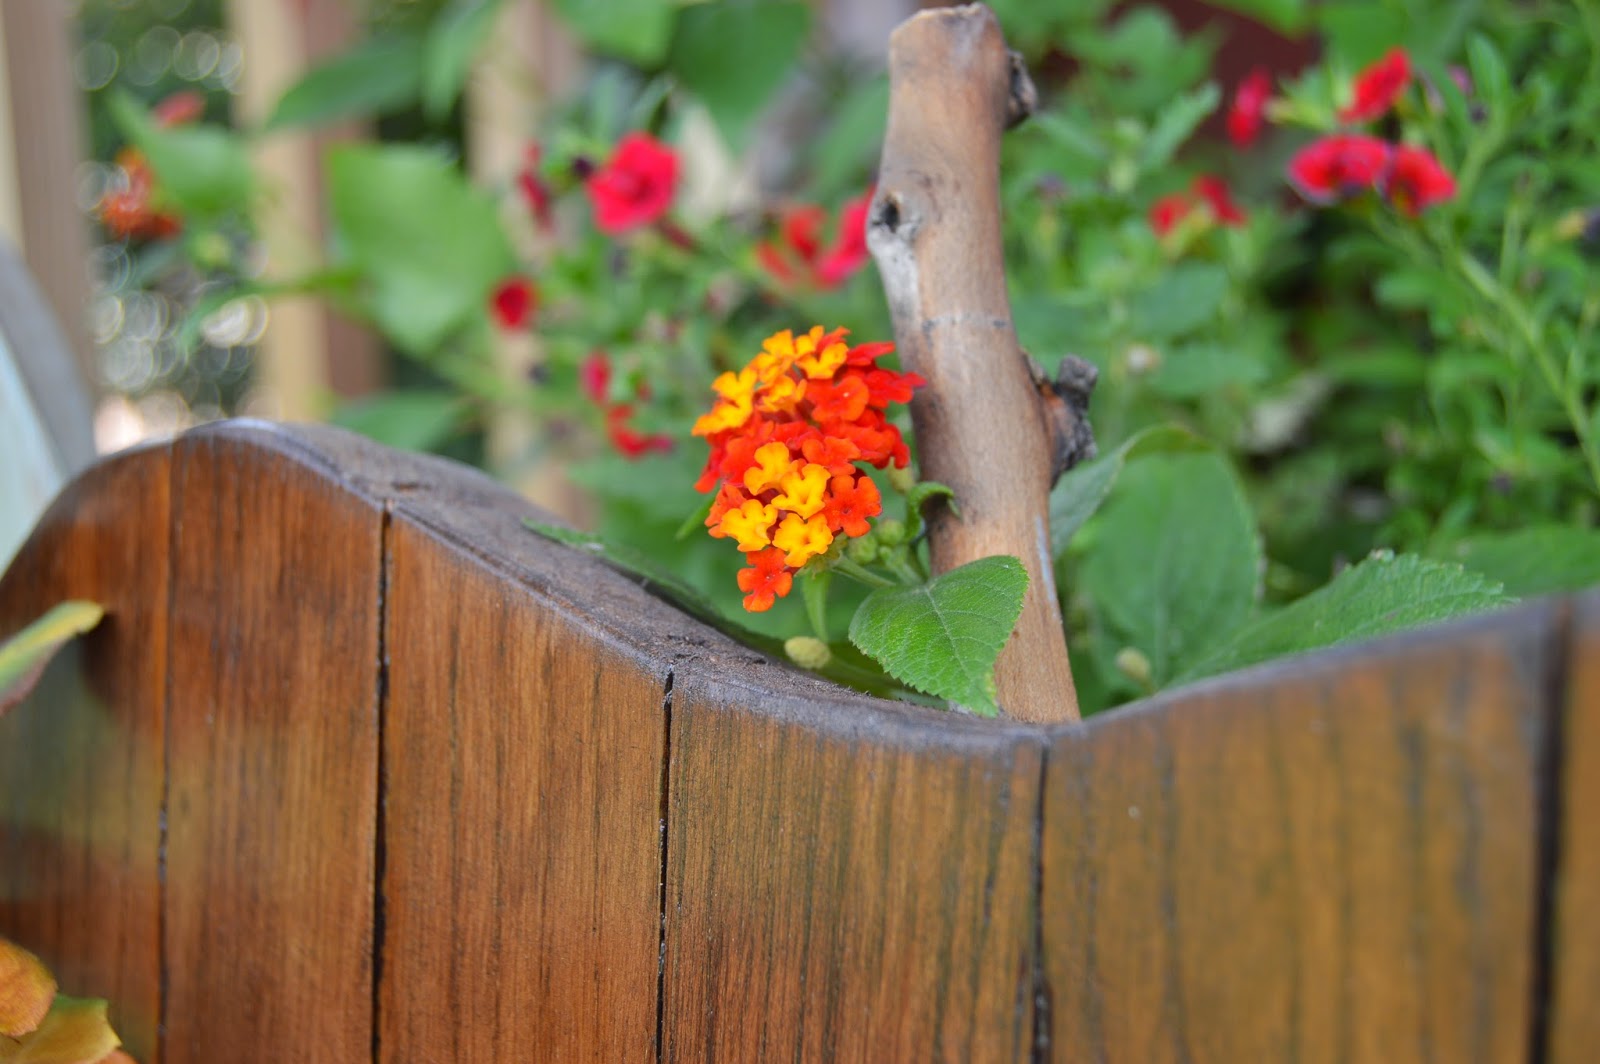
The sticks came from our front yard and were attached with a few one inch brad nails.

Staging projects isn't exactly my strong point, so here are a ton of pics of me doing the best I could...

If you like this project, follow us on Facebook to see what else we're up to!

Wednesday, September 3, 2014

Wood Block Pumpkins

16,000 woodworking plans inside...(2 days left) 

I just discovered this and suggest you see this immediately... 

BHC 14 INEXPENSIVE TREE STAND PDF Plans build your own tree stand Woodworking Download.
Click Here To Download


Hopefully everyone had a great Labor Day weekend!  Three days off in a row never ever get old in my book!  I know that we are supposed to use Labor Day as a time to refresh and relax, so we did just that - except our version of relaxing is a little more unconventional.  Building and creating is our family's outlet for relieving stress...so when we woke up at 6:30am on Monday, Sept. 1st, the kids and I had a list of stuff that we wanted to make together!

The first thing we were going to make was, say it with me here, "this think I saw on Pinterest!"  Adorable little pumpkins made out of 4x4 posts!  Except we didn't have any 4x4 blocks, we only had some reclaimed lumber that is more like 3"x2.5" but with tons of texture.  Better in my book!  And free...the goal of most of our projects is to build them out of what we happen to have laying around.

I cut them at different heights until they looked just right.  Then we sanded everything really well with a sanding block and an orbital sander.
Emma painted the large and the small with one coat of antique white.  Since we were going to be sanding them after painting, we didn't bother using any primer first.  Owen painted the middle sized block orange.
After the paint had dried, we taped off our patterns on the blocks.  For the polka dots, we used the only circles we had - smiley face stickers.  The chevron pattern was a little more frustrating because we only had the wide blue painters tape.  I didn't want to go all the way to the hardware store for a silly role of tape so I cut the wider tape into skinny strips.  Did it turn out perfect?  Nope - but Emma kept reminding me that we weren't going for perfect.  Smart girl.
With our tape and stickers securely in place, we painted each block in the opposite color of the first coat.  After that coat of paint dried, we peeled off the tape and stickers and sanded the blocks again with the sanding block.
 And of course, like everything else in our house, they then got a coat of brown glaze.  This was Emma's first time glazing anything and she LOVED it!
For the little stem tops, we just happened to have an extra dowel laying around from a closet makeover.  After I put a quick coat of American Walnut stain on them, Brent attached them by shooting a few 2" nails right down through the top of it and into the wood block.
To round out the remainder of our Labor Day, we painted this little picture for my mom...
And then took these candle holders we found in the basement...
gave them a couple coats of Wythe Blue...
and a coat of glaze so that they will match the rest of our home decor.
Anyone else work on anything over the long weekend? If you like this project, follow us on Facebook to see what else we're up to!

Monday, January 27, 2014

DIY Jewelry Screen

16,000 woodworking plans inside...(2 days left) 

I just discovered this and suggest you see this immediately... 

BHC 14 INEXPENSIVE TREE STAND PDF Plans build your own tree stand Woodworking Download.
Click Here To Download

One magical afternoon, Brent hauled in an armful of these wooden frames.  My eyes lit up.  Oooohhhhh...the possibilities!


Emma happened to have a birthday party for one of her friends quickly approaching, so we thought it would be fun to turn one of them into a jewelry screen - much like the one I made for my own jewelry a few years ago.


That one in my bedroom was much easier though.  I just had to pick it up off a pile of junk from the side of the road, paint it, glaze it and hang it.  

 This one for Emma's friend was going to involve a little bit more.  We gave it two coats of hot pink paint we had laying around from a previous project.


I remembered I had this cool piece of metal in our garage, another one of Brent's finds.  It had all of these tiny holes in that I thought would translate into polka dots on the pink frame.


I laid the piece of metal on top of the pink frame.


And used this light pink spray paint to give it a light dusting.


Part of it turned out great...


But the metal didn't lay perfectly flat on top of the pink frame, so where the metal had pulled up and away from the frame, the polka dots weren't very defined.


And this upper corner was really blotchy.


If the polka dots had been even all over, it would have been adorable...but this one wasn't meant to be.  I tried to paint over it, but the polka dots kept poking through the layers of paint.  So I scrapped this one and just started fresh with a new frame - luckily I had a ton of them!!

This one got started the same way - 2 coats of hot pink paint...


And instead of polka dots, we hit it with some spray glitter.  Every home in America should keep a can of spray glitter around...you just never know when it's gonna come in handy.


This is what the back side looked like and you can see how it has a tiny space around the inside edge where we could staple the screen material.  And yes, we have a huge roll of screen material in our basement - we use that surprisingly often as well.


Before we wrapped it up for the birthday girl, we staged it with some jewelry to get some pics.  This jewelry screen is pretty small - only about 14 inches square, so it doesn't hold a ton of jewelry, but enough for a little girl.


I used some Christmas ornament hooks, cut in half, for the jewelry hooks.


This picture, of the frame next to a dresser, gives you a better idea of the size.


This was a fun, easy little project - and the birthday girl's mom tells me she loved it!

1930's Cottage Bathroom Remodel

16,000 woodworking plans inside...(2 days left)  I just discovered this and suggest you see this immediately...  BHC 14 INEXPENSIVE...